Installation
Note: As of July 22, 2022, the branding for the campus VPN client has changed from Pulse Secure (9.1rx) to Ivanti Secure Access (22.2Rx). All other aspects of the client are the same. Any reference to Pulse Secure should be interpreted as Ivanti Secure Access and vice-versa. As of September 30, 2025 Ivanti has yet to change the branding on their linux clients from the old Pulse Secure branding to the new Ivanti Secure Access branding. However, the version numbers for current Pulse Secure/Ivanti clients will still have the new 22.xRx version format (as opposed to the old 9.xrx versioning).
Step 1: Download the appropriate Pulse Secure Linux client package for your Linux distribution (UCSB SSO login required). Note that separate installer packages are available for Debian/Ubuntu (.deb) and RHEL/CentOS (.rpm) distributions. On Ubuntu distributions, installing through Ubuntu Software Center is supported for Pulse Secure. For CLI access, you'll need to install openconnect (see below).
Step 2:
(Ubuntu/Debian): Install the Pulse Secure package using the command:
sudo dpkg -i <package name>
(RHEL/CentOS): Install the Pulse Secure package using the command:
sudo rpm -ivh <package name>
Note: The nss3-tools and net-tools are dependency packages required to successfully install the Pulse Client. Use the following commands to install these dependency tools manually.
(Ubuntu/Debian): sudo apt-get install libnss3-tools net-tools
Starting in 22.8R2, Ivanti Secure Access Linux client supports Ubuntu 24.04. The webkit dependency library (libwebkit2gtk-4.0) packages are required pre-requisites. You can find instructions on installing this dependency via this Ivanti KB article: https://forums.ivanti.com/s/article/isac-client-support-ubuntu-2404.
(RHEL/CentOS): yum install nss-tools net-tools
Step 3: Launch the Pulse Secure GUI from the command line with
/opt/pulsesecure/bin/pulseUI
or select the application from your GUI's application menu (you may have to search your system to locate it - shown below in Ubuntu)
Note: If you experience any errors, please check our VPN FAQ for possible solutions.

Step 4: Once the GUI has loaded for Pulse Secure, click the plus icon to add a Connection Profile.

Step 5: Fill the Connection Profile with the following parameters:
Name: UCSB Remote Access
URL: https://ps.vpn.ucsb.edu/ra
Ensure that you have typed the URL exactly as listed above - http: will not work - it must be https:

Click "Add" to save the Connection Profile. Your Pulse Secure GUI should now contain the Connection Profile as shown below.

Usage
IMPORTANT: you must first have at least one device already enrolled with UCSB's MFA service (Duo Security) in order to connect to VPN.
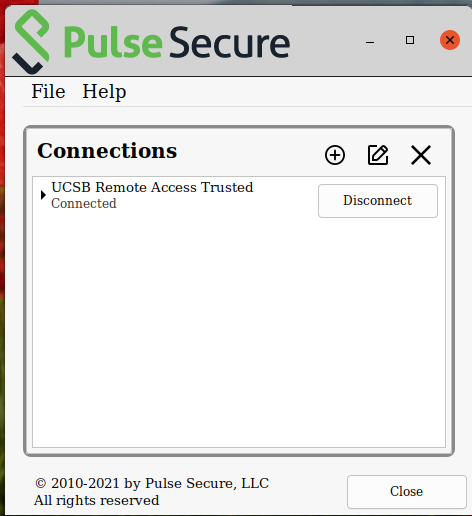
Step 1: In the Pulse Secure client window, click the Connect button inside the "UCSB Remote Access Trusted" connection profile. Make sure the Connection profile has https://ps.vpn.ucsb.edu/ra as the URL.
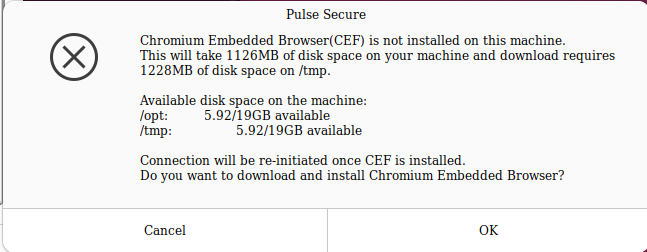
NOTE: If you are prompted to install the CEF browser, please visit our FAQ under the heading "When I try to sign in to the VPN using the Ivanti Client, I don't get the SSO login page - Install a Chromium Embedded Browser (CEF)." Many users experience a timeout with the below prompt. If this occurs for you, try the CLI command:
sudo /opt/pulsesecure/bin/setup_cef.sh install
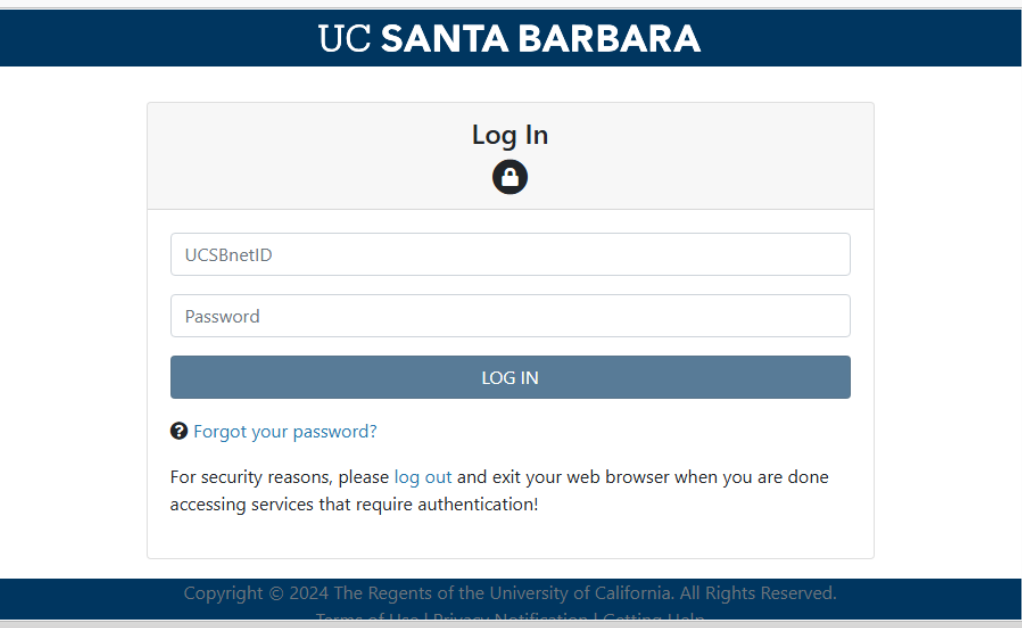
Step 2: The VPN client will bring up the UCSB SSO login window prompting you to enter your UCSBnetID and password. Provide them and click "LOG IN"
Step 3: Once your UCSBNetID credentials have been authenticated, you will receive a prompt for multi-factor authentication (MFA).
Step 4: After a few seconds, your client will connect and the button should change to read "Disconnect." Click the arrow on the left to expand the status area - this will show the words "Status: Connected."
Step 4: Verify your VPN connection by using a web browser to visit https://next.noc.ucsb.edu/ip. The web page will display the network address your computer is using. If the VPN is in use, it should say “On-campus address (VPN)”.
Step 5: To disconnect from the campus VPN service, click the "Disconnect" button.
Connecting to the Campus VPN via command line (CLI):
NOTE: After the move to VPN SSO login on February 10, 2025, all CLI clients fail to authenticate due to the requirement of an embedded (CEF) browser. We currently have no estimation as to when Ivanti will support SSO over CLI, but we continue to look for solutions.
PLEASE NOTE: We provide "best effort" support for Pulse Secure on Linux due to the wide range of distributions and their varying configuration methods. More information about the Linux client and dependencies is available here from the vendor's support site.